
How to Diffuse Curly Hair
To learn how to diffuse curly hair, start with low airflow and gentle heat. Hold the diffuser away from your curls as they dry, and keep your hands out of the sections you have styled. Those steps help you keep the shape you see while your hair is wet.
If your curls look good after styling but turn fluffy as you dry them, the drying step is worth a closer look. At Wenzel Salon in Springfield, MO, we can help you fit that step into your curl care routine.
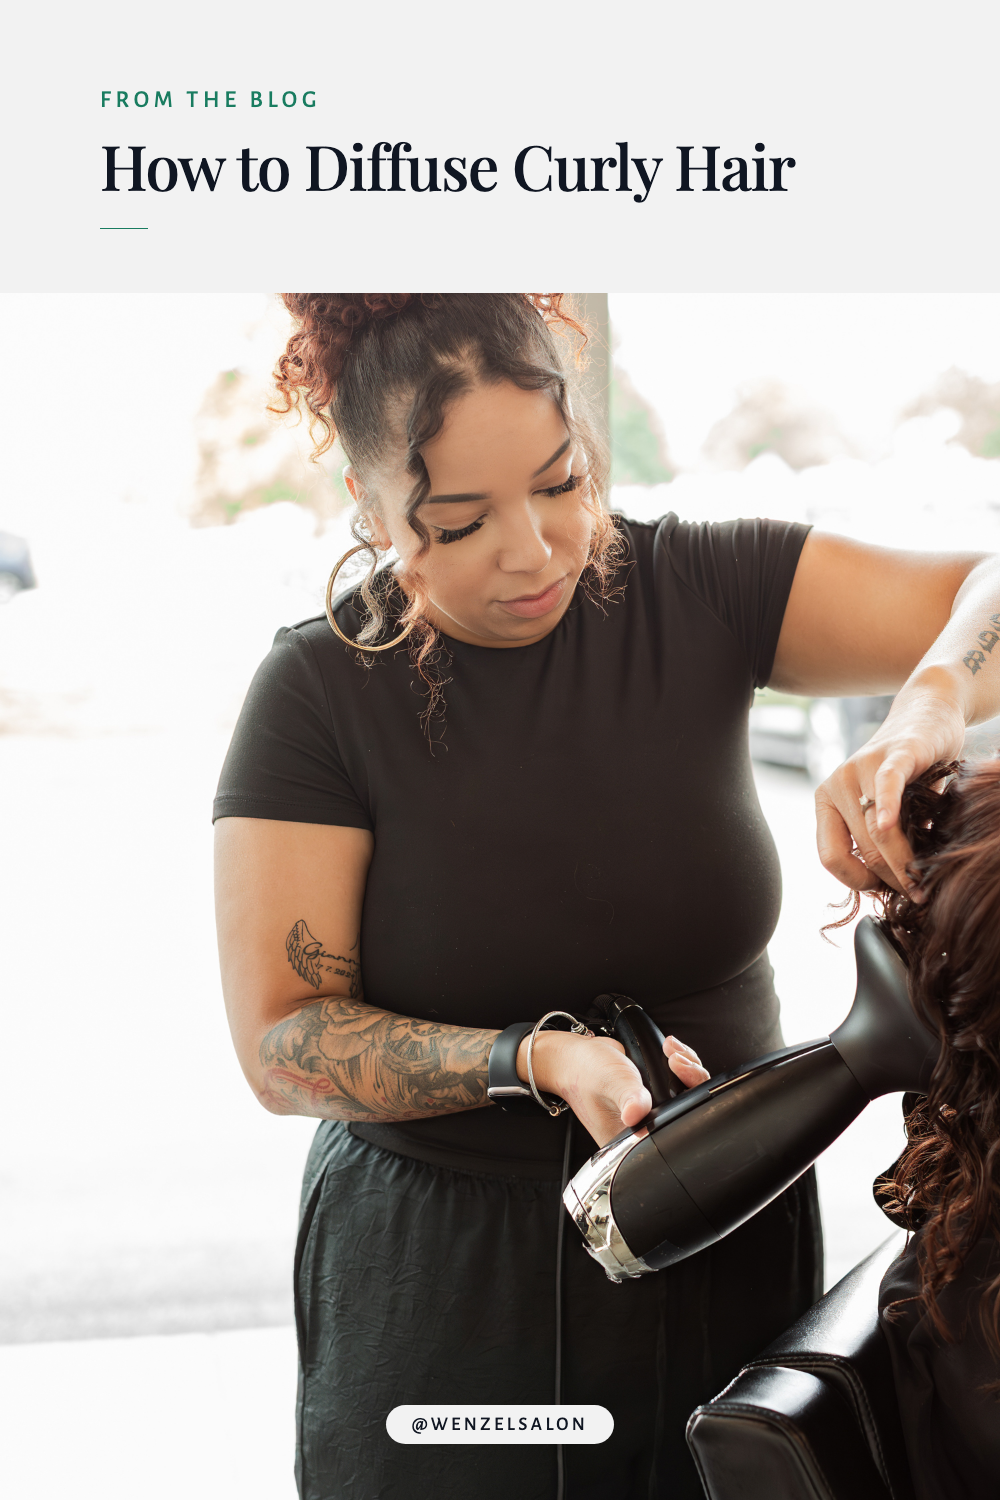
Set your curls before you turn on the dryer
A diffuser is the wide attachment on the end of a hair dryer. It spreads the airflow over a larger area. The way you hold it still matters: a strong blast of air can move the curls you have shaped.
After washing and conditioning, apply your styling products while your hair is wet. Work through sections so you can spread the product evenly. If you need help with that step, ask your stylist to show you the amount and method that suit your hair.
Use a heat protectant as directed on its label. A curl cream or gel does not automatically provide heat protection. Check what your product is made to do before you turn on the dryer.
In Ouidad's curl-styling steps, heat protection comes before drying, and gel helps set the curl shape. Keep your prep steady while you learn the dryer technique. That gives you one part of the routine to work on.
How to diffuse curly hair with a gentle hover
Start with low speed and low heat. If needed, use medium heat while keeping the airflow gentle. Ouidad's guide to drying curls recommends low or medium heat and holding the diffuser a few inches away from your hair.
This is called hover diffusing. You move the dryer around your head while the curls stay in place. Aim the air down the hair, from roots toward ends. Work around the sides, back, and crown so you reach the damp sections.
Give each area time to dry. Keep the dryer moving between areas, and avoid holding heat on a section that is already dry. For this method, leave the curls out of the diffuser bowl. Ouidad recommends that approach when you want to limit frizz from handling.
Keep your hands off the curls as they set.
If your scalp feels hot, move the dryer farther away and lower the heat. Follow the dryer's directions for safe use and attachment fit. A diffuser still uses heat, so comfort and distance matter.
Check the roots before you call it dry
Your ends can feel dry while the roots still need time. Check gently, then aim the dryer at the damp area. You can tilt your head to one side to reach a spot at the back or crown.
Curlsmith's diffuser guide advises focusing on wet roots once the ends are dry. It also suggests turning the dryer off as you move between sections to keep the hair from blowing around.
There is no single drying time to copy. Work from how your hair feels. If you stop before it is dry, let the rest air-dry without repeated touching. Wait until it is fully dry before fluffing or reshaping it.
If the shape keeps falling apart, bring that detail to your stylist. Explain when it happens: while you apply product, when the dryer starts, or later in the day. Our guide to curly hair frizz covers the separate role of humidity.
Bring your drying questions to your Springfield visit
At your next visit, tell us which dryer and attachment you use. A photo of the settings and the names of your products gives us more to work with than “my curls look different at home.”
You can ask to see how far to hold the dryer, which way to point it, and how to check the roots. Those are concrete steps you can practice after the appointment. Our guide to curl-focused salon care explains how the cut and home routine work together.
When you are ready to work through your curl routine with us, book your Wenzel Salon visit.